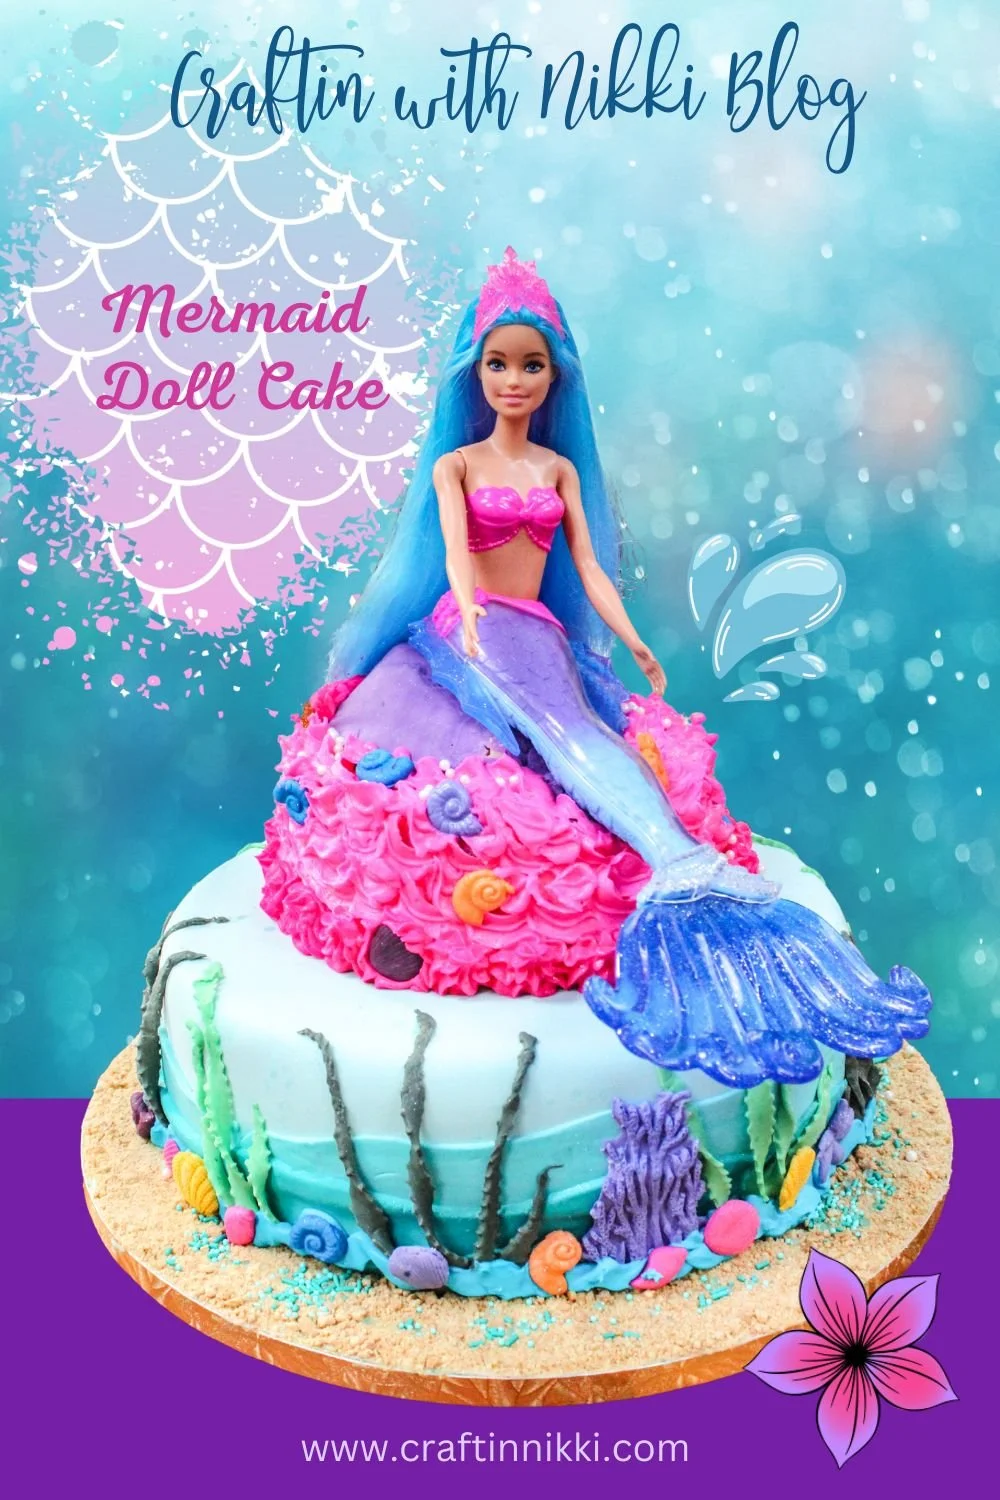
Make a Huge Splash with Your Mermaid Doll Cake
Mermaid cakes are the talk of the sea lately, so why haven’t I made one yet, up until now? I am not quite sure. It may just be because I have been designing shiny sparkly mermaid things to wear in your hair rather than making cute mermaid things to eat. It happens! But I have been missing out on so much and I am so excited to finally show off my undersea adventure story, which I will just refer to as Fiona’s 6th Mermaid Birthday Party of Fun!
If you are interested in how I came to design this edible masterpiece, what supplies and brands I used, and to find out how the party turned out, keep reading and watching below!
Unleash Your Creativity
Baking and designing cakes is an art form that gives you the freedom to unleash your creativity. It's like having a blank canvas and a palette of flavors and colors at your disposal. From choosing the perfect cake base to the decorations and icing, every step allows you to infuse your personal style into your masterpiece. And note, not every cake will turn out the same every time nor every cake look alike. The possibilities are endless! You can let your imagination soar as you sculpt, shape, and paint on a canvas of delectable frosting and cake layers.
I had a vision that was developing during months of party planning (and Pinterest saves). It finally got to come to life and it turned out so good that my daughter wants me to make her another one! I guess that will be my excuse to get the fondant out again.


Our Mermaid Obsession Started Long Ago
My little girl is turning six at the end of July and she has had her heart set on a mermaid theme party for months. Some of you may be thinking that she chose the theme because of the new live-action movie that was released a couple of months ago, but no. This obsession must had started in the womb when she was born with a mermaid tail. She loves swimming and singing and long hair…which does sound a little familiar.
After months of researching the best decorations for the money, mermaid tail cake designs, and themed menu ideas, I finally got to throw this cake together the morning before the day of the big mermaid birthday bash. I say it like it was just a tiny project on my list of things to do but in reality, she took me a good six hours of mixing and cutting, and an extra trip to Michaels to grab some more frosting because apparently 2lbs was not enough (I needed closer to 5lbs).
Keep reading below to follow me through my journey on how I came to the design ideas I used and to see what types of materials and recipes I used to accomplish this masterpiece. I do think after six long hours that I can now refer to the mermaid doll cake as my masterpiece.

Please let me introduce my Ariel obsessed, mermaid loving, bathtub bubble queen, of a daughter. Fiona.
Where I Shopped for Mermaid Supplies
Taking on a bubbly project like this is not easy and if you aren’t careful, expensive too. I always look to Pinterest photos to get me started with design ideas then I move onto where I may be able to buy the molds and other materials.
Below is a list of my favorite places to shop for silicone molds and other cool party supplies. This list is my first set shops to start with for all of my Craftin’ Nikki projects because I am shop at them all of the time and know where the deals are!
Hobby Lobby
Joann Fabrics
Michaels
Temu
Shein
Amazon
Etsy
Once you have gotten a feel for what’s out there, start gathering your decorating materials and research your favorite recipes.
Recipes That Work Swimmingly
Let’s start off with three of the easiest recipes out there, which each the guesswork out of everything (if you are like me then you may like the easier-the-better options)! Please note, I am not a food/recipe blogger, and I am only including these recipes in this post because I have been asked before about the recipes I use in my designs. You are welcome to use any icing, buttercream, cake, or fondant recipe you wish. Any way you bake them or mix them, you will probably get the similar result as I do and have done for most of my cakes.
1. Cake Mix - I do love to bake and have some favorite homemade recipes but when I know I am going to have limited time to get the cake baked and decorated, I usually go to the most popular pre-boxed cake mixes.

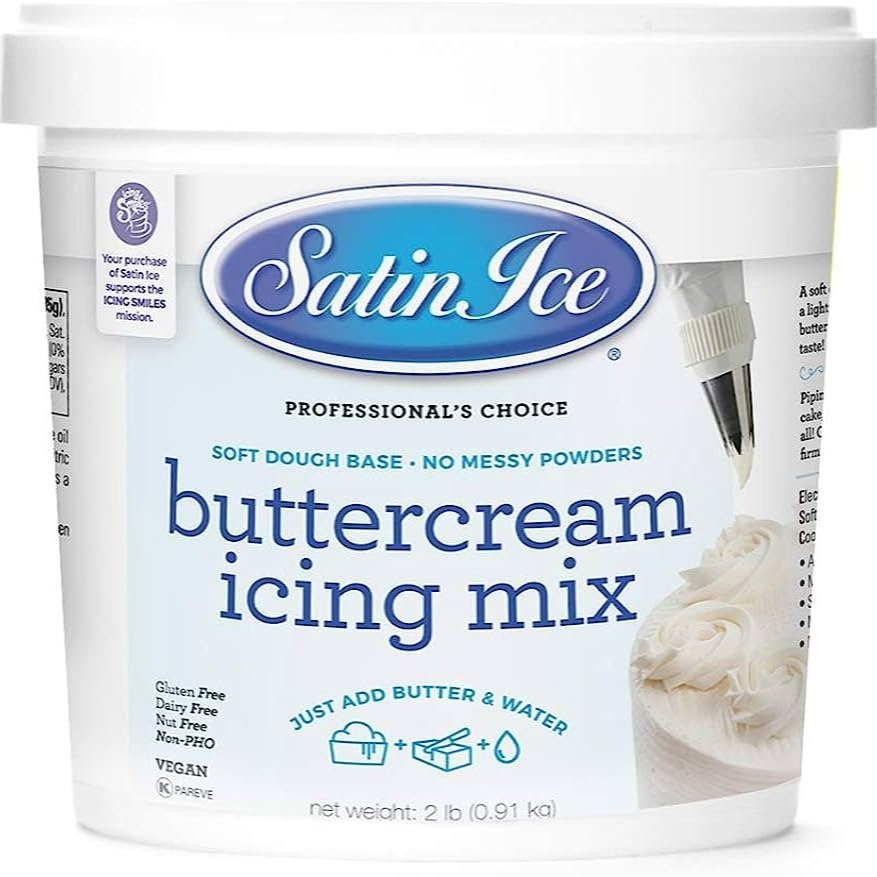
2. Buttercream Frosting – Who doesn’t love a good buttercream frosting? It tastes so good with any flavor of cake, food coloring, and piping. I can tell you that the Satin Ice brand of buttercream frosting mix passed the taste test and held up it’s end of the piping bargain. I used for in between the cake layers and the pink piping under the mermaid doll. It tastes great and is so easy to use, just add water…literally!
3. Fondant – Some cake designers are fans, and some are just not at all. I really do enjoy working with it and have been using it long enough to know how to use the coloring dyes to get the exact colors I need. Almost any brand works great, and you will get the same results in the end as long as you know how to roll it correctly.

Cake Supplies Needed But Not Limited To
3 Boxes of Cake Mix (or make from scratch)
5 lbs Buttercream Frosting Mix
4 lbs White Fondant
10 in Round Cake Pan
6 in Round Cake Pans
14” Cake Drum ½” Thick
Mermaid Silicone Molds
Other Silicone Molds
Piping Tips
Pastry/Frosting Bags
Plastic Straws/Dowels
Spatula
Sharp Knife
Cake Knife
Coloring Dyes
Rotating Cake Table
Mermaid Doll
They See Me Rollin’
I am going to quickly walk-through the steps needed to the finished cake before working with the fondant. To watch the steps from how my cake went from just cake to art, follow my YouTube Channel here or watch my Instagram reels here.
Bake your round cakes using the 10 inch and 6 inch pans and trim the tops and cut in halves as needed.
Start with the bottom 10 inch cake first. Place the 10 inch round cake layer on your 14” cake drum and frost the top. Apply the rest of your layered rounds separately and add your frosting as needed. I personally had three 10 inch layers on the bottom and two 6 inch layers on the top.
Repeat Step 2 for the top 6 inch cake. Do NOT stack the 10 inch cake and 6 inch cake just yet.
Apply your buttercream frosting to the sides of the cakes (I like it a little thicker than normal but it’s up to your discrection).
Working on the bottom 10 inch cake first. Apply your aqua colored food dye to the fondant before rolling it out. The trick is to kneed and twist and fold the color into the fondant (my video above shows my technique that I think works well but everyone does it their own way). Roll out about a 20 inch round circle and carefully apply to the top of the cake and smooth out the top, edges, and sides. Trim the excess fondant as needed.
Using the extra aqua fondant, apply more colored dye as needed. I did mine in mulitple stages to create an ombre effect when I layered the waves. Trim and cut your fondant layers and apply to the side edges of the cake with a tiny bit of water (the water will help the sugar stick to the sides).
Place 3 or 4 straws/dowels in the center of the cake. This will help this bottom layer support the top layer once it’s applied.
Create your seashells, mermaid tails, seaweed, starfish, and whatever other water themed shapes you would like out of fondant and save them for later.
Apply a very thin layer of frosting to the outside perimeter of the cake drum. Crush your graham crackers to be used as sand (using a plastic sealable bag and a hard spoon or mallet). Carefully apply the sand on the thin layer of frosting and brush away the excess.
Working now with the 6 inch cake. Apply your purple colored food dye (or any other fun color) to the fondant and kneed and fold into it. Roll out about a 10 inch round circle and apply to the top of the cake. Smooth out the top and fold over the edges. (The fondant does not need to be perfect because the buttercream piping with cover the edges.)
Using extra purple fondant, create a rock like base and apply to the top of the 6 inch cake. This will be the base where the mermaid doll will rest. Test out the base by addinf your doll and add extra straws/dowels as needed. (I did add two straws to the edge to create more support for my doll because her tail was making her a little bottom heavy.)
Using a pastry frosting bag, create your own style of piping around the 6 inch cake.
Decorate both layers of cakes with the water themed fondant shapes that were created in Step 8. Add any sprinkles or pearls as needed.
Add any additional embelishments you would like. Congratulations! You have made yourself an edible masterpiece.

Shop Craftin Nikki


Pin your favorite Craftin With Nikki Blog Post!